How to Uninstall Apps on Mac Completely

Although it’s not obvious, and most people are completely unaware of it, pretty much every time you uninstall Mac apps, there will be files that are left behind. These files are most often referred to as “leftovers”. Even though you’ve uninstalled the app, its associated files — which were necessary for it to work when it was installed — are left behind. The more apps you install and uninstall, the more there will be leftover files stored on your Mac. As you begin to accumulate larger amounts of these leftover files, it can have a seriously negative impact on the performance of your Mac.
There are a few ways to get rid of these leftover files during the uninstallation process, however, and this article will cover three of them. Hands down though, number 3 is the easiest, so if you’re looking for the most straightforward approach, you’ll want to head right there!
Method #1 — Uninstall Mac apps with Finder
This is a standard way of uninstalling apps on Mac, but you’ll need to follow some additional steps to ensure all the leftover files are removed, too.
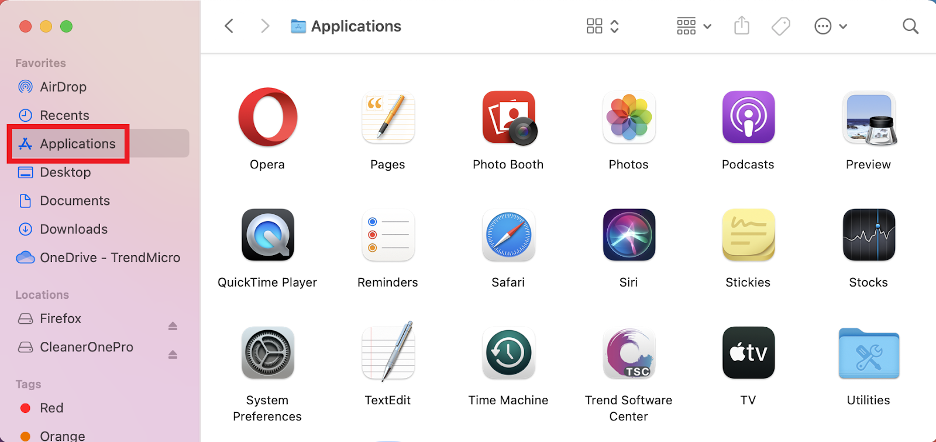
1. In Finder, select Applications.
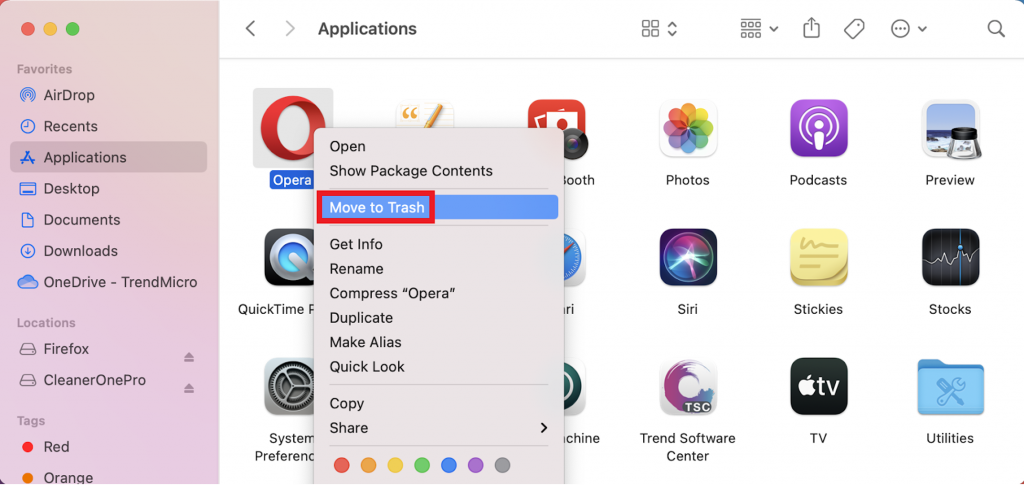
2. Find the app you wish to remove, right-click on it, and select Move to Trash.
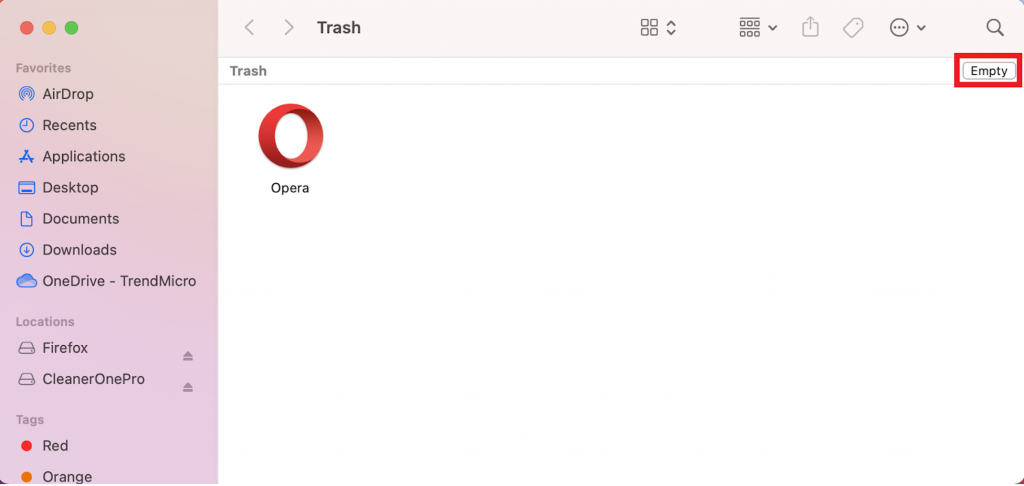
3. In the Dock, click on the Trash icon. After the folder has opened, click Empty.
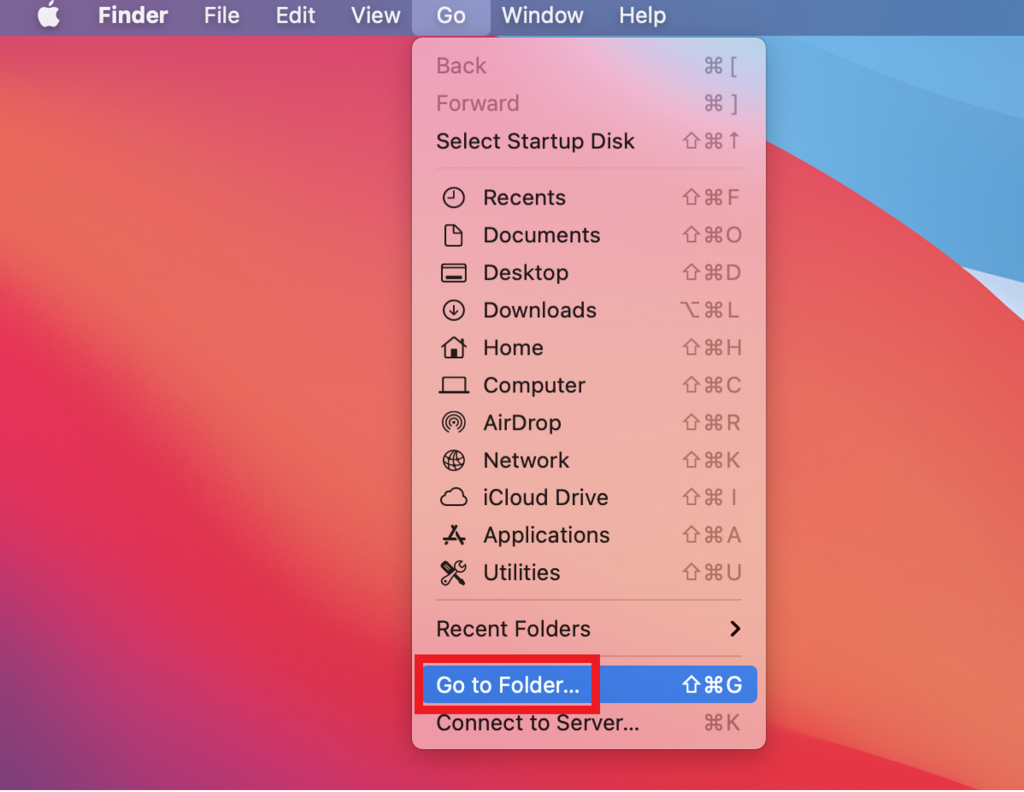
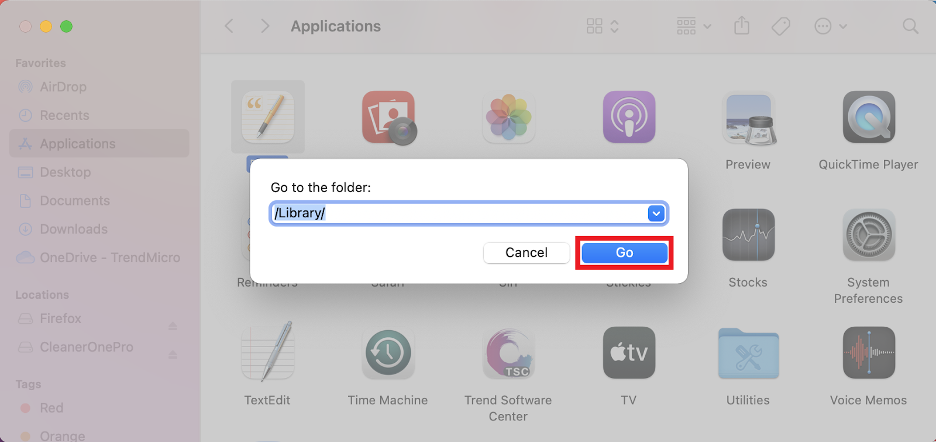
4. To remove the leftover files, open Finder and select Go > Go to Folder.
5. Enter “/Library/” into the search box and click Go.
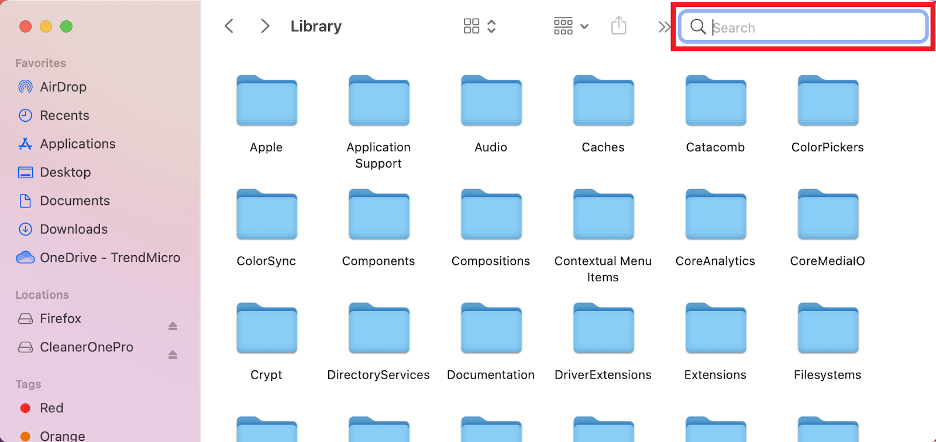
6. Search the Library folder for any leftover files belonging to the removed app, right-click on them, select Move to Trash. Once you’ve done that, empty the Trash folder once more.
Method #2 — Completely uninstall applications with Terminal
This method will be too complicated for most people, but if you like a bit of a challenge, here’s how you can do it.
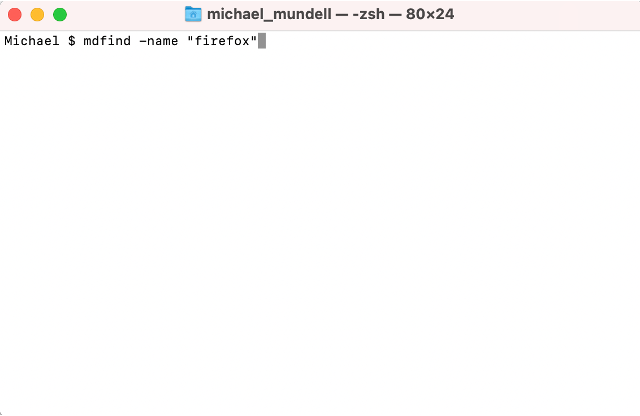
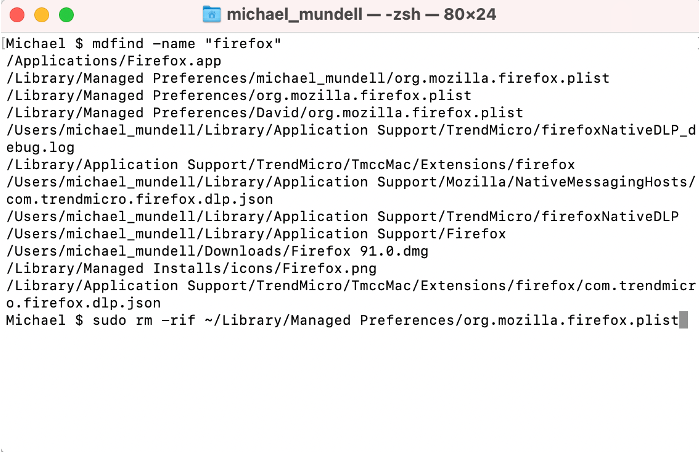
1. In Terminal, type mdfind -name “application name” and press Enter. For example, if you wanted to remove Firefox, you would need to enter mdfind -name “firefox”.
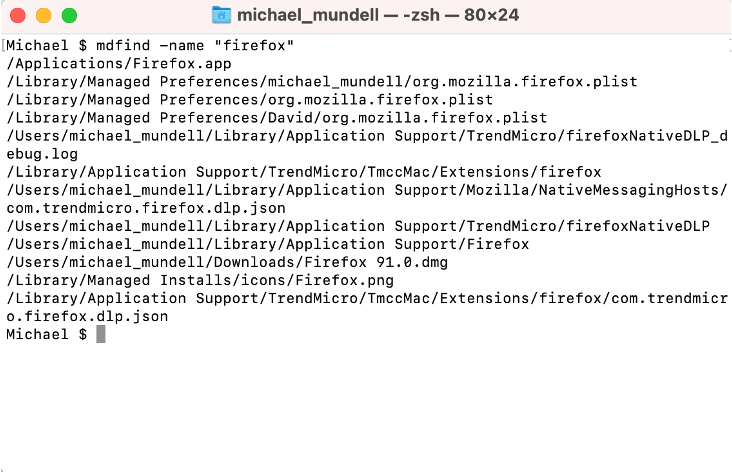
2. This will show you all the files associated with the name of the app. However, please note that this doesn’t mean you should remove them all. As mentioned, this method is a little bit complicated, so ideally you should know which types of files you’re searching for, but in general, you should be looking for .plist files, .app files, caches, settings and preferences, and other accessory files.
3. After you’ve found all the files you want to delete, you can use the rm command to do so by typing “sudo rm -rif ~” + the directory and file name. For example, “sudo rm -rif ~/Library/Managed Preferences/org.mozilla.firefox.plist”. It is important to note that the rn command is not reversible, so please bear that in mind.
Method #3 — An uninstaller program (super easy!)
Uninstaller programs make removing apps and their associated files really easy. These programs ensure that no leftover files remain after apps are removed, so your Mac doesn’t end up getting slowed down by them. There are a few good options out there, but here are two of our top picks:
1. Cleaner One Pro ($14.99 — 25% off!). This app is an all-in-one disk cleaning tool. Completely removing apps couldn’t be any easier (you won’t have to worry about deleting any important files like in the above methods!) and it’s got tons of other features to ensure your Mac is kept running perfectly.
2. CleanMyMac X ($34.95 — $5 off). This is another great option for people looking to make their Mac run as quickly as it did when it was brand new. However, it’s currently over twice as expensive as Cleaner One Pro, and in our opinion, the price difference isn’t justified, so you should probably save the cash.
Make a habit of it
Ideally, you get into the habit of removing an app’s associated files every time you uninstall one. This way, your Mac isn’t going to get slowed down by them over time. Honestly, this is one habit that you’re not going to regret picking up!
